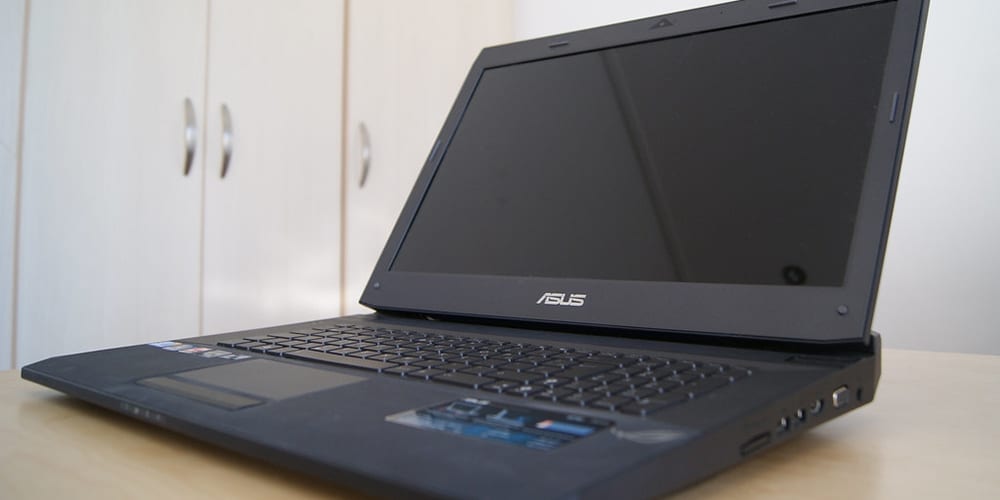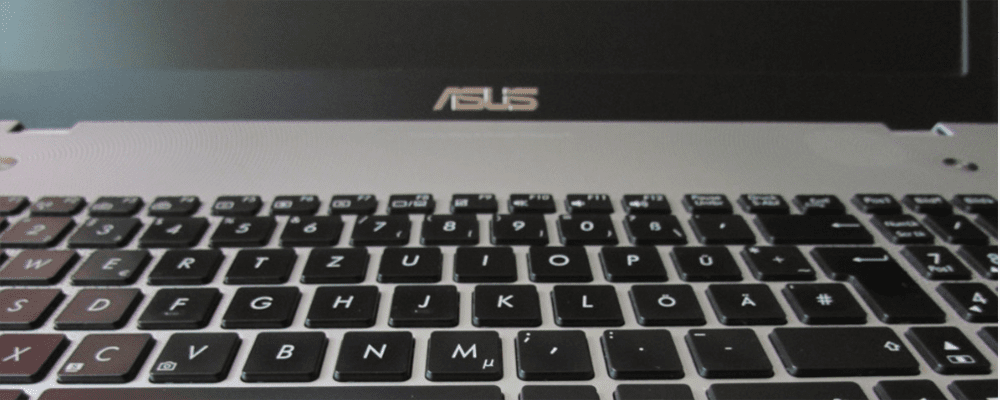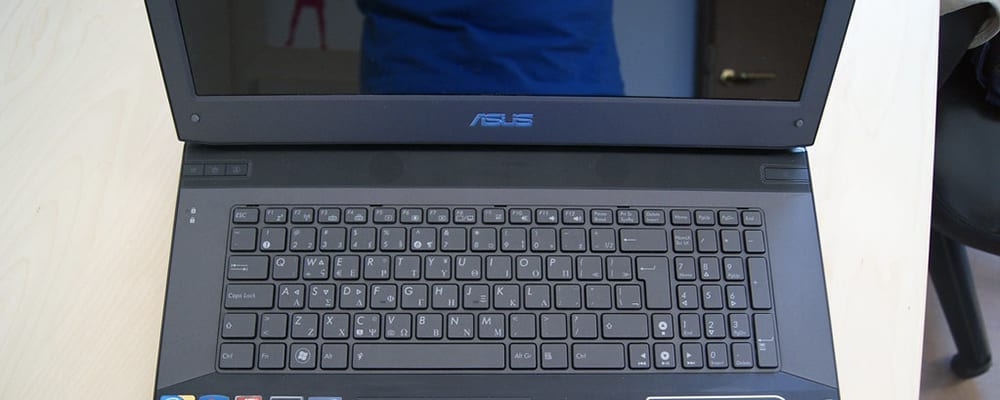
So, you got yourself a new ASUS laptop! With all the photoshop programs and photo-editing extras available for laptops nowadays, anyone can be an amateur photographer. The ability to take screenshots on your ASUS laptop is an important part of saving and sharing all of those special moments you want to capture.
Or perhaps you work from home, and you need to send an image of your project to your boss. Whether you need a screenshot of the whole screen or just part of it, you can take your screen shot, tweak it, edit it, and then turn it into a perfect photo that you’ll want to frame and hang on your wall.
You can do this all with your new laptop. All you have to do is learn the process of taking a screenshot with your ASUS laptop. Don’t worry – you don’t have to be a laptop genius to do it.
An important point to understand is that new ASUS laptops run on a Microsoft Operating System; think Windows 7, Windows 8, and Windows 10. The good news is that the process for taking a screenshot on all of these Windows models is generally the same!
If you purchased an ASUS laptop that is Windows 10 or newer, it should come with the entire Windows Suite, so taking screenshots will be even easier. You won’t have to purchase or download any new programs (i.e., photoshop tools or any other editing features).
A photograph is a moment frozen in time, as is a screenshot. Perhaps you have an image on your laptop that you’ve already taken with your phone or another device you want to make into a gift or memento. Or maybe you want to impress your boss with what you’re working on from home. Your ASUS laptop is ready to capture these moments for you.
That’s why we’ve created this easy-to-follow, step-by-step guide for you to learn how to take “picture perfect” screenshots with your new ASUS laptop, making screen shooting easy and fun. We’ll be talking a little bit about Editing, too. There are two different situations or setups in which you may be taking your screenshot; don’t worry, we’ll be covering it all!
How To Screenshot On ASUS Laptop With A Single Shot Screen
When utilizing this method, you can take a screenshot by simply pressing a few keys on your keyboard called “hotkeys.” In this situation, you’ll only be taking your screenshot on ASUS laptop or single desktop – that is, it will not be connected to any other device.

This is called a “single-screen” screenshot. You’ll simply be working with just one whole screen. This screenshot process is what you’ll use if you have a Windows 7 or Windows 8 ASUS laptop.
Step 1: Look at your Windows 7 or 8 keyboard and find the [Windows] and [Print] keys; press the [Windows] key first, hold it, and then press the [Print] key. Just those two keystrokes will take a screenshot!
Step 2: Find your Image folder. There should be a tab or folder labeled “Screenshots” within it. You should see the image of the screenshot you just took. This is where all of your screenshots will “live” until you move them to a different folder.
Step 3: An extra “FYI.” You can also simply press the [Print] key, and this alone will still take the screenshot. However, now it will “live” in your clipboard instead of in the Image, Screenshots folder.
Step 4: If you want to Edit or play around with the screenshot you’ve just successfully taken with your ASUS laptop, you can open your favorite editing or photoshop program, insert your screenshot, and edit away! If you want to save your screenshot as an image, insert it in your chosen editing program by pressing [STR]+[V].
How To Screenshot On ASUS Laptop When Connected To Multiple Devices (Working With Multiple Screens)

At times, you may be working with multiple desktops, or a desktop and a laptop. In other words, you may have more than one active window open on a few different monitors. This may sound overwhelming, but don’t worry. Taking a screenshot on ASUS is never complicated! The following steps are those you’d follow if your ASUS laptop runs on Windows 10 or newer.
Step 1: Pressing [Windows]+{Print} will take the screenshot, and will send it to both your Clipboard and to a file in your Images folder. This key combination will take a screenshot of all monitors, given that they are all connected to your ASUS laptop and or active window. The same screenshot will show up on all monitors!
Step 2: To edit your screenshot, paste it into a compatible photoshop or Editing program, which should have already come with your Windows 10 (or newer) software.
Step 3: Have fun Editing your screenshot. Your Windows 10 software likely includes Adobe Photoshop, which is an excellent photo-editing program!
A Few More Quick Tips and Tricks For Editing (And Taking) A Screenshot On ASUS Laptop

If you take your screenshot by simply using the [Print] key, the CTRL+V is the shortcut key combination to Paste the screenshot from the Clipboard into your Paint program, Adobe Photoshop, or even into Microsoft PowerPoint.
Perhaps you don’t want a screenshot of the whole screen, and only need to take a screenshot of one small part of it, such as a website URL, information from one window, or graph, or a single paragraph from an article, etc.
No worries! To take a screenshot of only a small portion of the active window, hit [Alt+Print]. This will save the screenshot to the Clipboard. When you paste it into your editing program, check out the toolbar at the top of the screen. You can use a crop or snipping tool to “cut out” the parts of the screenshot you don’t want.
After you take a screenshot and want to trim it down immediately after, do so by using the snipping tool. It’s the most efficient way to Edit your screenshot and the best way to capture a small portion of the whole screen that you want. It’s the tool that is most easily accessed in your Windows Start menu.
By doing a little dragging with your mouse, you can copy an area of a screenshot that you want directly to your clipboard. Simply draw lines around the area with your mouse. This is much faster than saving the entire screenshot to your Images folder, opening it, and then cropping it.
If you find that you take screenshots in your internet browser a lot, you might want to consider some add-ons or an in-browser extension. Mozilla Firefox and Google Chrome are the go-to’s for most ASUS users.
Conclusion
You may want to take a screenshot for many reasons, whether those reasons are personal or business-related. When you want to learn how to screenshot on ASUS laptop, it might sound a little intimidating at first. If laptops and techy gadgets aren’t your forte, you may not know how to take a screenshot on any laptop. In today’s world, where more people are working from home, knowing how to take screenshots might become an essential part of the day-to-day process of your job.
An ASUS laptop might just be the best tool to learn how to take a screenshot and how to edit it as well. A screenshot on ASUS will always be an easy and efficient process, no matter if you’re working with one screenshot screen on your ASUS laptop, or if you’re dealing with multiple monitors and desktops.
When you’re about to take a screenshot, knowing if or when to press the Windows button is essential. The type of Windows software you have on your ASUS laptop will make this a little clearer. Remember that some key combinations only work with newer Windows software.
No matter what software you have, however, simply press the [Windows] key+[Print], and this will at least take a screenshot and save it to your Clipboard. Think about what you require of your screenshot on ASUS; do you need a shot of the entire screen or just a small portion of it?
Whatever you want to take a screenshot of, and no matter the size you need, there are tools for that. Simply play around with your toolbar, and decide if you need any add-ons or browser extensions. It’s amazing what you can do with just a screen and a keyboard!


No comment yet, add your voice below!